TECHNICAL DIAGNOSIS · BYPASS IS NOT A MEDIA RATING
Filter Element Bypass and Sealing Path Troubleshooting
Filter element bypass occurs when part of the flow reaches the downstream side without passing through the intended porous media. The path may be at a seal, seat, end-cap joint, seam, adapter, distorted body or housing interface. Diagnose the complete filtration boundary before changing to a finer mesh or micron rating.
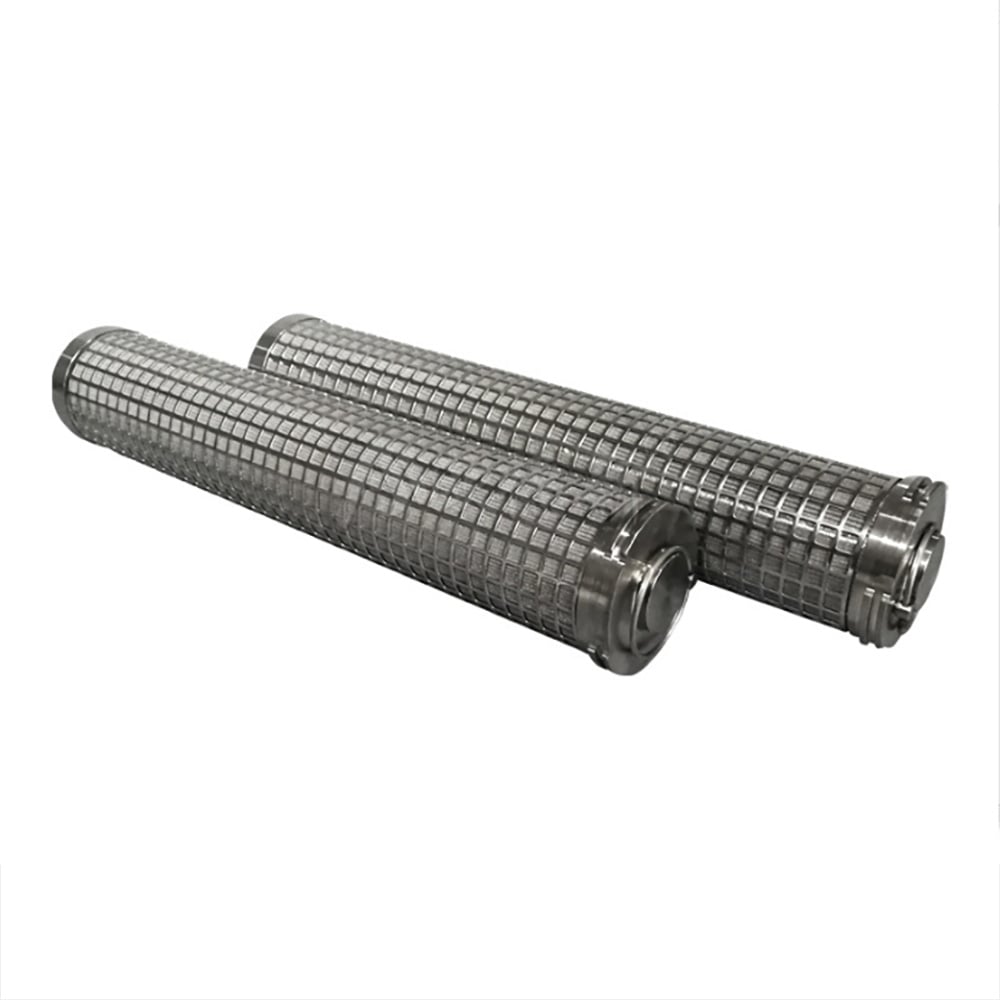
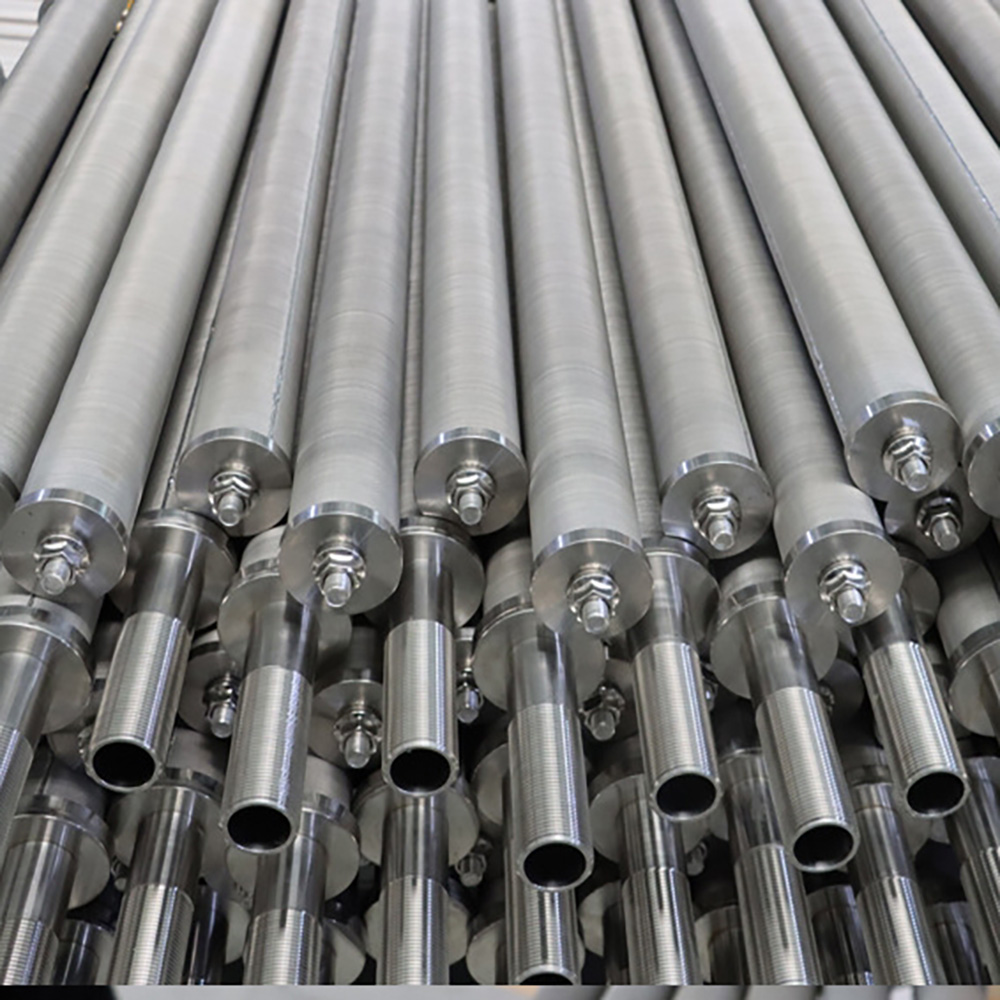
Real filter-element structures showing that media, end joints and equipment interfaces form one sealing system.
Four Signals That May Point to Bypass
Downstream particles remain
Contamination appears larger than the defined media opening or inconsistent with the rating basis.
Unexpectedly low pressure drop
Flow resistance is lower than the verified clean-element baseline or design expectation.
Intermittent contamination
Leakage changes after installation, vibration, thermal cycling, cleaning or element replacement.
Uneven seal witness marks
The gasket, seat or collar shows incomplete contact, damage, debris or asymmetric compression.
None of these symptoms proves bypass by itself. Sampling error, media definition, damaged media, incorrect flow data or a process change can produce similar observations.
Symptom-to-Inspection Matrix
Use symptoms to prioritize inspection, not to declare a cause before evidence is collected.
Observed symptom
Possible path
First checks
Large particles downstream
Seat, seal, seam, end-cap joint or damaged media
Particle evidence, rating basis, seal marks and joint inspection
Low clean ΔP
Incorrect fit, open bypass path or wrong element/media
Part number, dimensions, flow data and installation orientation
Leak after maintenance
Reused/damaged seal, debris on seat, incorrect assembly
Seal condition, seat cleanliness, torque/retention and insertion depth
Leak after pressure event
Body collapse, joint separation or seal displacement
Pressure history, support direction, roundness and joint continuity
One element differs in a batch
Interface dimension, joint or seal variation
Critical-dimension comparison and inspection records
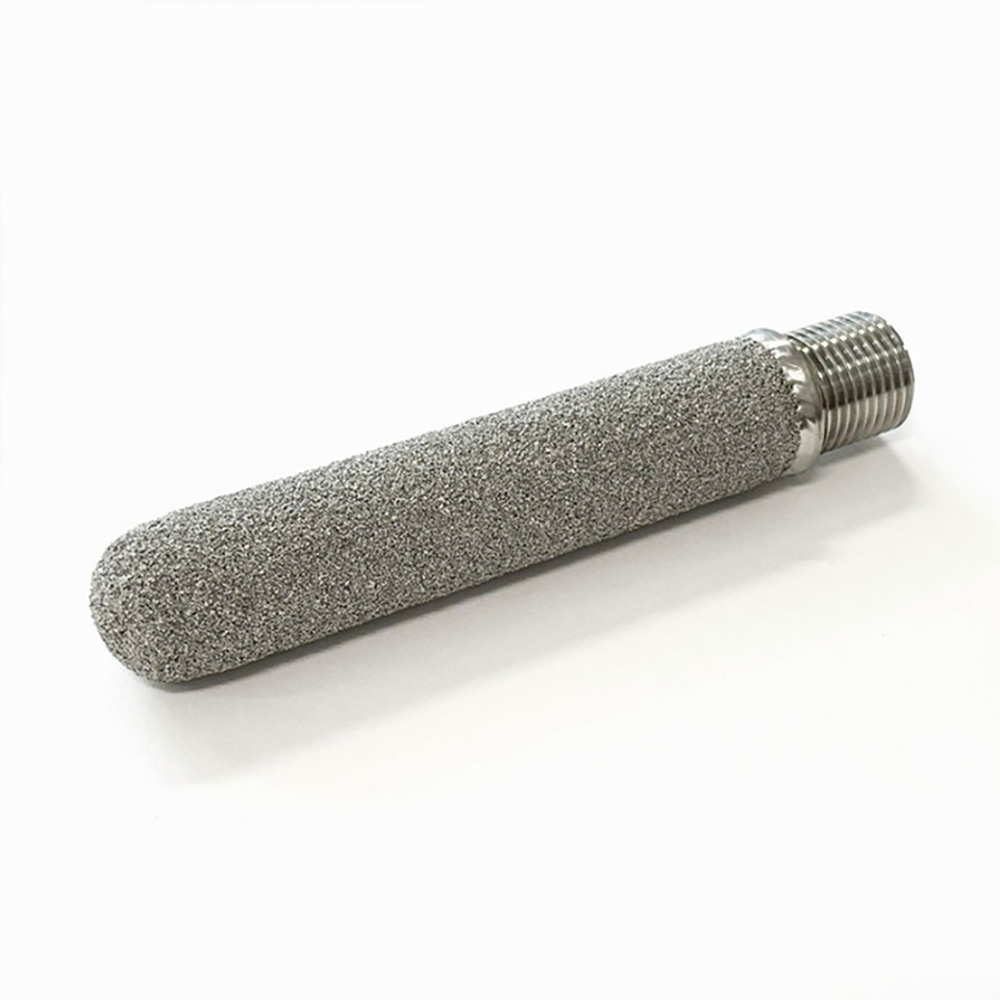
A threaded connection and closed porous body illustrating two separate areas that require inspection.
1. Seal and Seat Interface
Inspect the gasket or O-ring condition, material, compression marks, groove dimensions, seating face, sealing diameter, debris, scratches and insertion depth. Confirm that the element shoulder or collar contacts the intended seat rather than bottoming elsewhere.
A missing, damaged, incompatible or incorrectly compressed gasket or O-ring.
Housing seat
Debris, corrosion, damage, incorrect diameter or incomplete element engagement.
Media-to-end joint
A discontinuous weld, braze, bond or mechanical capture around the end cap.
Longitudinal seam
An open, cracked, poorly joined or distorted seam along a cylindrical body.
Adapter or thread path
An interface that locates the part but does not create the intended process seal.
Deformed element body
Collapse, ovality or support failure that opens a gap or damages the porous layer.
2. End-Cap Joint and Seam
Trace the intended filtration boundary continuously around each end cap and along every longitudinal joint. Look for incomplete attachment, cracking, heat distortion, loose mechanical capture or a discontinuity hidden behind a support layer. Visual inspection may not be enough when the acceptance requirement calls for a defined integrity method.
Thread, shoulder and seating geometry should be checked separately from the filtration media.
3. Fit, Tolerance and Installation
Compare the installed element with the controlled drawing: sealing diameter, collar thickness, overall and insertion length, groove, thread or flange details, roundness and seating-face geometry. Confirm flow direction, support position and assembly sequence.
For cylindrical elements, review the flow-direction and support-layer guide. Incorrect support direction can allow deformation during dirty-screen or reverse-flow conditions.
Evidence to Collect Before Changing the Design
Process evidence
Fluid, contaminant, upstream/downstream samples, flow, temperature and event timeline.
Pressure evidence
Clean and dirty ΔP, transients, shutdown, reverse flow and cleaning history.
Interface evidence
Housing seat, seal marks, installation depth, retention hardware and dimensional checks.
Element evidence
Media condition, joints, seams, roundness, deformation and identification against drawing.
Real Element Interfaces to Inspect
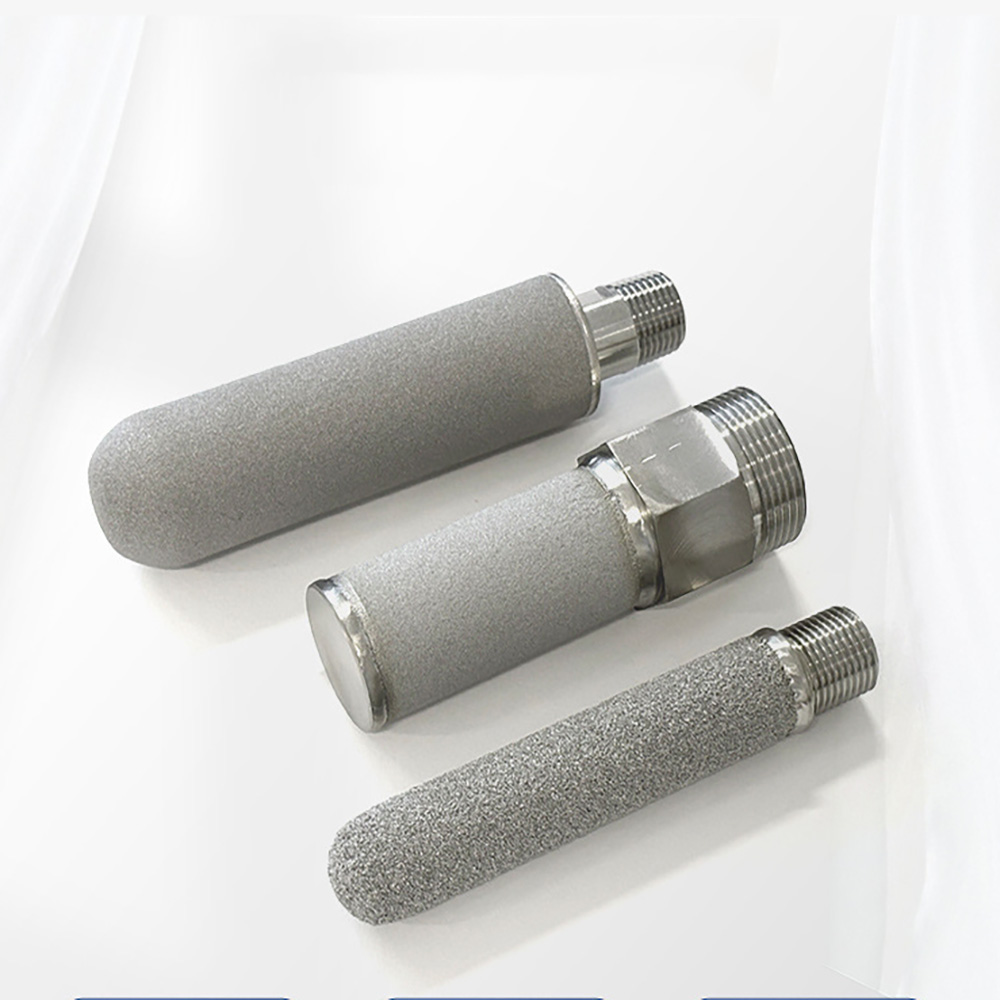
These real Maidong product images illustrate different interfaces and joint locations. They do not depict confirmed bypass failures; use them to understand where inspection boundaries may exist.
Real filter-element structures showing that media, end joints and equipment interfaces form one sealing system.
Supported closed-end elements
A threaded connection and closed porous body illustrating two separate areas that require inspection.
Threaded adapter and body
Thread, shoulder and seating geometry should be checked separately from the filtration media.
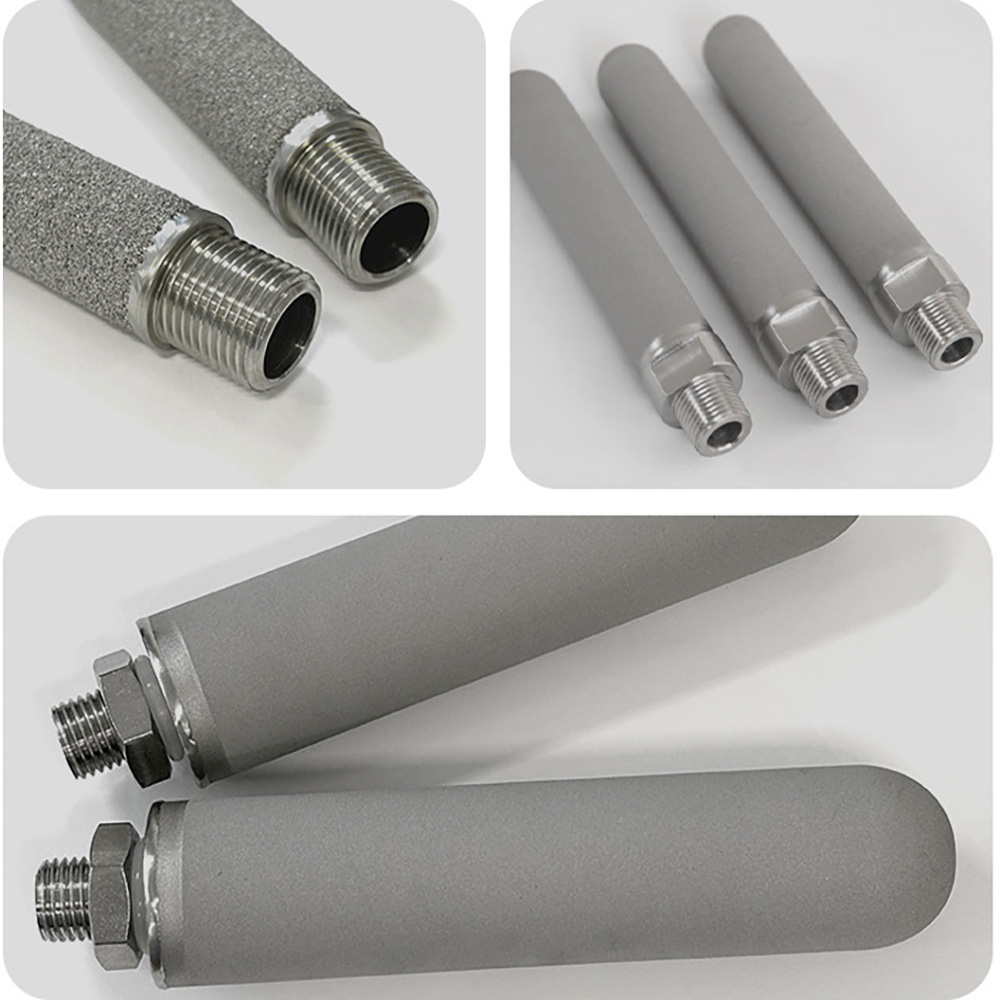
Thread and seating shoulder
Consistent interface dimensions matter when multiple replacement elements share the same housing.
Batch interface consistency
Filter Bypass Diagnostic and RFQ Checklist
1. Confirm the symptom
Document samples, particle evidence, timing, ΔP and process changes.
2. Isolate safely
Follow the equipment owner’s shutdown, depressurization and handling procedure.
3. Trace the boundary
Inspect seat, seal, end joints, seams, adapter and porous body in sequence.
4. Verify dimensions
Compare critical fit, seal and insertion dimensions with the controlled drawing.
5. Define acceptance
Agree inspection, integrity or challenge method before replacement manufacture.
Bypass is flow that reaches the downstream side without passing through the intended porous media. It may travel around a seal, seat, end-cap joint, seam, adapter, distorted element or another unintended gap.
Yes. A small sealing or joint leak may pass contamination while the majority of flow still crosses the media, so differential pressure alone cannot prove sealing integrity.
Compare the particle size and shape with the defined media opening or rating, review pressure history, inspect the seal and seat witness marks, check joints and seams, verify dimensions and, where required, use an agreed integrity or challenge test.
Only when the connection is designed to create the required seal and the seat, seal and dimensions are correct. Excessive tightening can distort parts, damage gaskets or alter the joint. Follow the equipment specification.
Show the filtration boundary, flow direction, seat and seal location, sealing diameter, groove and gasket details, end-cap and seam joints, insertion depth, critical dimensions and tolerances, and the required inspection or integrity method.
No. A finer medium cannot correct a leak around the medium. Rating selection and sealing-path control are separate requirements that must both be addressed.
Need a Replacement Element Review?
Send the existing element drawing, housing interface, sealing details, process data, observed symptom, particle evidence, pressure history, inspection findings and required acceptance method. For a new specification, use the custom wire mesh filter element guide.